Before an administrator can manage access rights using Privileged Access, they'll need to be added as a user in Recast Management Server and assigned a Recast role.
Add an Active Directory User or User Group in RMS
To add an AD user or user group:
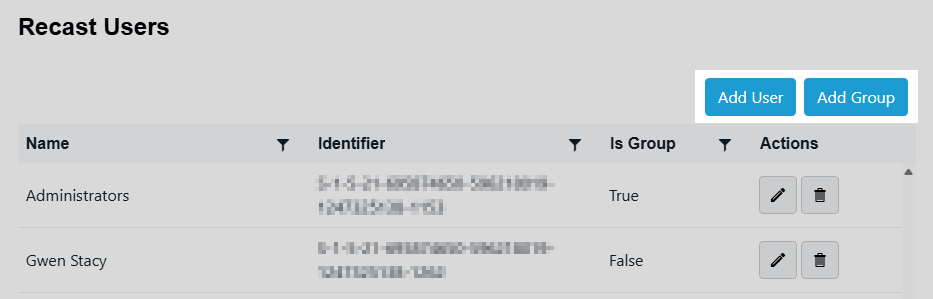
1. In your Recast Management Server, navigate to Administration > Permissions.
2. In the Recast Users section, click Add User or Add Group.
3. In the window that opens, search for your AD name or AD user group and click the Add button.
- Search is limited to the users or groups in the same domain as your Recast Management Server.
- Search looks to match the user logon name (SamAccountName) not the display name.
Use a wildcard (*) to facilitate your search
Wildcard examples:John Connor returns strings that match exactly
John C* returns strings beginning with 'John C', such as 'John Connor', 'John Connors', and 'John Cranston'
*Connor returns strings ending with 'Connor', such as 'John Connor' and 'Carol O'Connor'
*Support* returns strings that include 'Support' plus whatever is on the left and right, such as 'Customer Support Team' and 'Enterprise Support Group'
Assign a User or Group a Role
Each user or user group must be assigned at least one role.
To assign a user a role:
1. On the Permissions page, click the Edit icon to the right of the user or group.
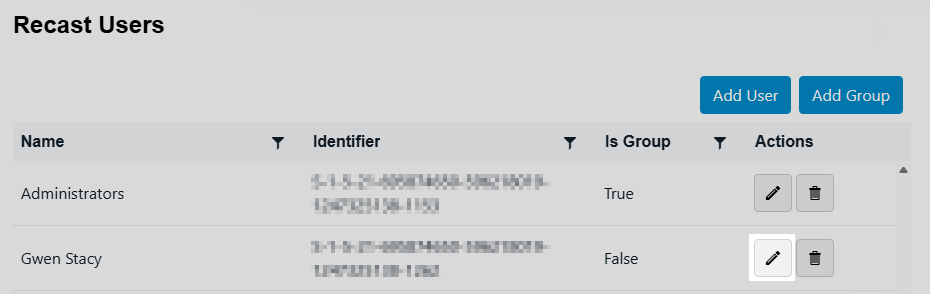
2. In the Role Assignments window that opens, under Roles, select a role to assign to the user/group.
To learn about the individual permissions granted by a role, see View or Edit User Role Permissions.
3. Under Assigned Roles, enable Limit this user to specific objects and select a Service Connection to add a limiting rule that restricts user permissions to a set of devices (optional). To learn more, see Limiting Rules.

4. Click Save.
NOTE: Beginning with Recast Software Version 5.9.2502.2105, you no longer have to set a Refresh Interval to repopulate your limiting rules (formerly known as scopes). The scheduled Discovery Sync will keep your service connection data up to date.
