To add a new kiosk profile:
1. In your Configuration Manager console, right-click on a device or device collection and select Kiosk Manager > Kiosk Profiles > Manage Profiles.
2. In the Manage Profiles dialog, click the New Profile (+) button.
3. Click on the new profile, which appears at the bottom of the list, and name it.
4. Click Next.
5. Select Kiosk Profile Options.
Troubleshooting: Automatic logon only in Intranet zone
If you select Kiosk Mode to launch the browser full-screen, Microsoft Edge will open an InPrivate window in full screen. This may prevent Edge from leveraging the Automatic logon only in Internet zone setting. To work around this limitation, set the InPrivateModeAvailability registry key to 1, which disables InPrivate mode. To learn more, see Microsoft Edge Browser Policy Documentation InPrivateModeAvailability | Microsoft Learn
Under Selected Configurations, you can choose to include the following options in a kiosk profile:
- Automatic Login
- Shell Replacement
- Restart on Idle
- Delete Files on Restart
- Internet Allow List
- Keyboard Remapping
- Audio Volume
Settings for selected options will appear in subsequent steps.
You can configure computers to log in automatically as a particular user account each time the device reboots.
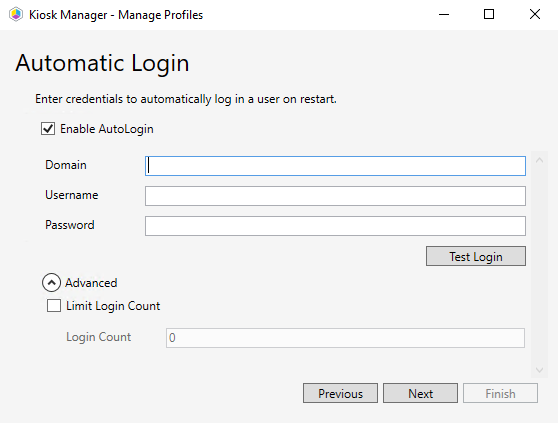
To configure automatic login:
1. In the Automatic Login dialog, click the Enable AutoLogin checkbox. Lab Manager will store the password in the LSA Secure store of the device and make the appropriate registry changes.
2. Enter the Domain, Username, and Password that will automatically log in the user.
NOTE: We highly recommend using a low privilege account as anyone with access to this device would be able to leverage this account's privileges.
3. Click Test Login to verify that the login credentials are valid.
4. (Optional) Click Limit Login Count to limit the number of times the user account will automatically login to a particular device. Once this limit is hit, the user will be prompted for their credentials on the login page.
Shell Replacement replaces the Windows desktop with one or more auto-launched applications. Applications are launched for all users. You can pick from UWP applications, common web browsers, or any custom applications you want. This feature also includes options to Allow Sticky Keys, Launch Windows Explorer, Tile Windows, and Remove Window Borders.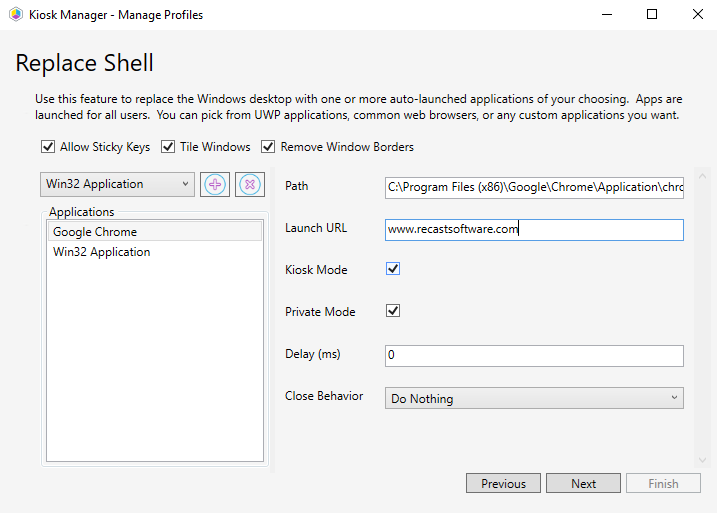
To set up shell replacement:
1. Select an application from the drop-down list.
2. Click the Add (+) button to add the selection to the Applications list.
3. If not already highlighted, click the application name in the list.
4. Set the following parameters, which will differ according to the selected application:
Browser & Application parameters
- Path: This field is populated from the Applications list
- Launch URL: For a browser, you can enter a specific URL to launch
- Kiosk Mode: Launch the browser in a full screen kiosk mode (Kiosk Mode is not supported by Firefox)
- Private Mode: Deletes the cache so that no user state is saved from the browsing session
- Arguments: For Win32 applications
- Application Base Name: For UWP applications
- User Model: For UWP applications
- Delay: Delay the shell launch by a set amount of time (in ms). Useful for scenarios where the shell needs to wait for network connectivity before it launches.
- Window Style: Choose from Normal, Maximized, Minimized and Hidden
- Close Behavior: Default behavior is to Do Nothing. You can also choose to Relaunch, Restart Computer, or Shut Down Computer.
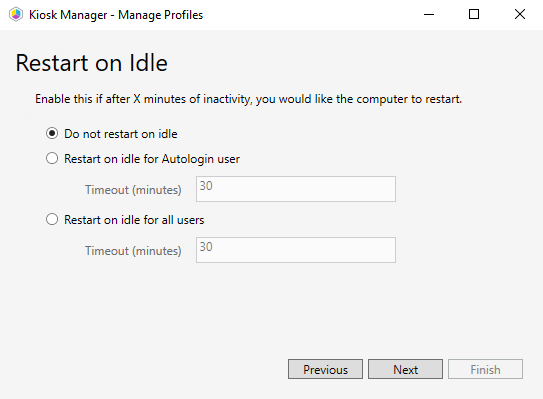
Restart on Idle reboots the device if there has been no mouse or keyboard input for a specified number of minutes. This option can be enabled for the Autologin user or for all users. The default timeout is 30 minutes.
Options:
- Do not restart on idle (default)
- Restart on idle for Autologin user
- Restart on idle for all users
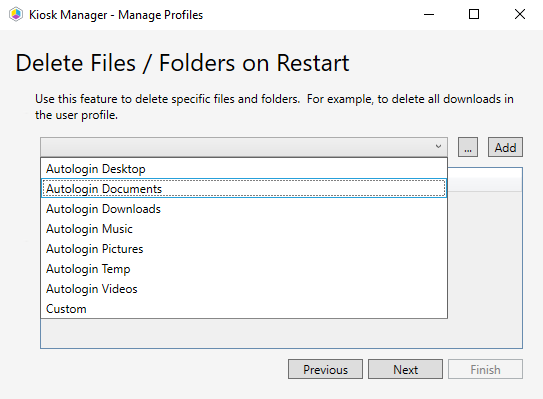
Delete Files/Folders on Restart wipes specified files and folders on reboot.
There are a number of built-in options for deleting specific Autologin user folders, including Autologin Documents, Downloads, Music, Pictures, Temp, and Videos. The Autologin user folder is set at every login to the device, so the deletion should be immune to any user profile issues. There is also the option of selecting a custom path to delete on reboot.
To set up file/folder deletion on restart:
1. Select a file or folder from the drop-down list.
2. If you select Custom, enter the path to the file or folder, or browse to the path using the Ellipsis (...) button. Wildcards (*) are accepted when specifying a custom location.
3. Click Add.
The Internet URL Allow List feature sets up an invalid proxy for all websites except those that are on the Allow list. When a user attempts to access a web page that is not on the Allow list, they will receive a message stating that the proxy server is not responding. This feature will work for default installations of Google Chrome and Mozilla Firefox. A Pearson profile is provided for quickly adding all of the Pearson testing URLs. Custom URLs can be added as well.
To set up the Allow list:
1. Click the Enable URL Allow List checkbox.
2. Select Pearson or Custom from the drop-down list. Choosing the Pearson profile will add all of the Pearson testing URLs. Choosing Custom will allow you to add a specific URL to the Allow list.
3. Click Add.
4. For Custom, enter the URL to be included on the Allow list. Wildcard (*) use is supported when specifying a URL.
Using the Disable Keyboard Keys option, you can prevent particular keys from functioning for all users of the system. This is particularly useful when replacing the shell as a way of denying access to the Control+Alt+Delete screen. When a key is disabled, it is filtered at the driver level. If no keys are added to the list, this feature will not make any changes to the device.
To disable keyboard keys:
1. Select the key to disable from the drop-down list.
2. Click Disable.

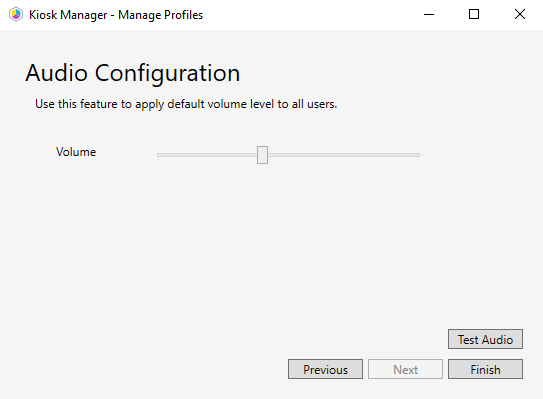
Use the Audio Configuration feature to control the master volume level of a device. This is useful in testing scenarios to avoid distractions during a test, or in kiosk scenarios to make sure users can hear the device. This volume level is applied for any user that signs into the device. The volume set with this option becomes the default audio level. The volume will still be editable by the user.
To set a master volume level:
1. Move the Volume slider to increase or decrease the default audio level.
2. Click Test Audio to check the level.