A network or instance-specific error occurred while establishing a connection to SQL server. The server was not found or was not accessible.
Cause
The Recast Management Server is not able to connect to the configured SQL server for some reason. As a result, the Recast Management Server will not function correctly.
Troubleshooting steps
- Check that the instance name is correct and that SQL Server is configured to allow remote connections.
If the SQL database is located on a separate computer from your Recast Management Server, verify that the SQL server is powered on, is online, and is reachable from your Recast Management Server computer (try pinging the specified computer).
Verify that the correct server address and port are specified in the appsettings.production.json file. This file is located at
C:\Program Files(x86)\Recast Software\Recast Management Server\appsettings. The file can be viewed and edited with a text editor.
For additional information, see Configure SQL.
If you look at the Recast Management Server or Event Viewer Logs, the full error is: Microsoft.Data.SqlClient.SqlException (0x80131904): Could not allocate space for object 'dbo.ActionExecutions'.'PK_ActionExecutions' in database 'RecastManagementServer' because the 'PRIMARY' filegroup is full.
Cause
The Recast Management Server is not able to write to the SQL Database because the disk or SQL instance is full.
Resolution
You'll need to create disk space by deleting unneeded files, dropping objects in the filegroup, adding additional files to the filegroup, or setting autogrowth on for existing files in the filegroup.
In SQL Express
SQL Express is limited to a 10GB database, and when it fills up you will receive the file group is full notice.
To remove information from the database:
1. Open SQL Server Management Studio.
2. Expand the Databases folder.
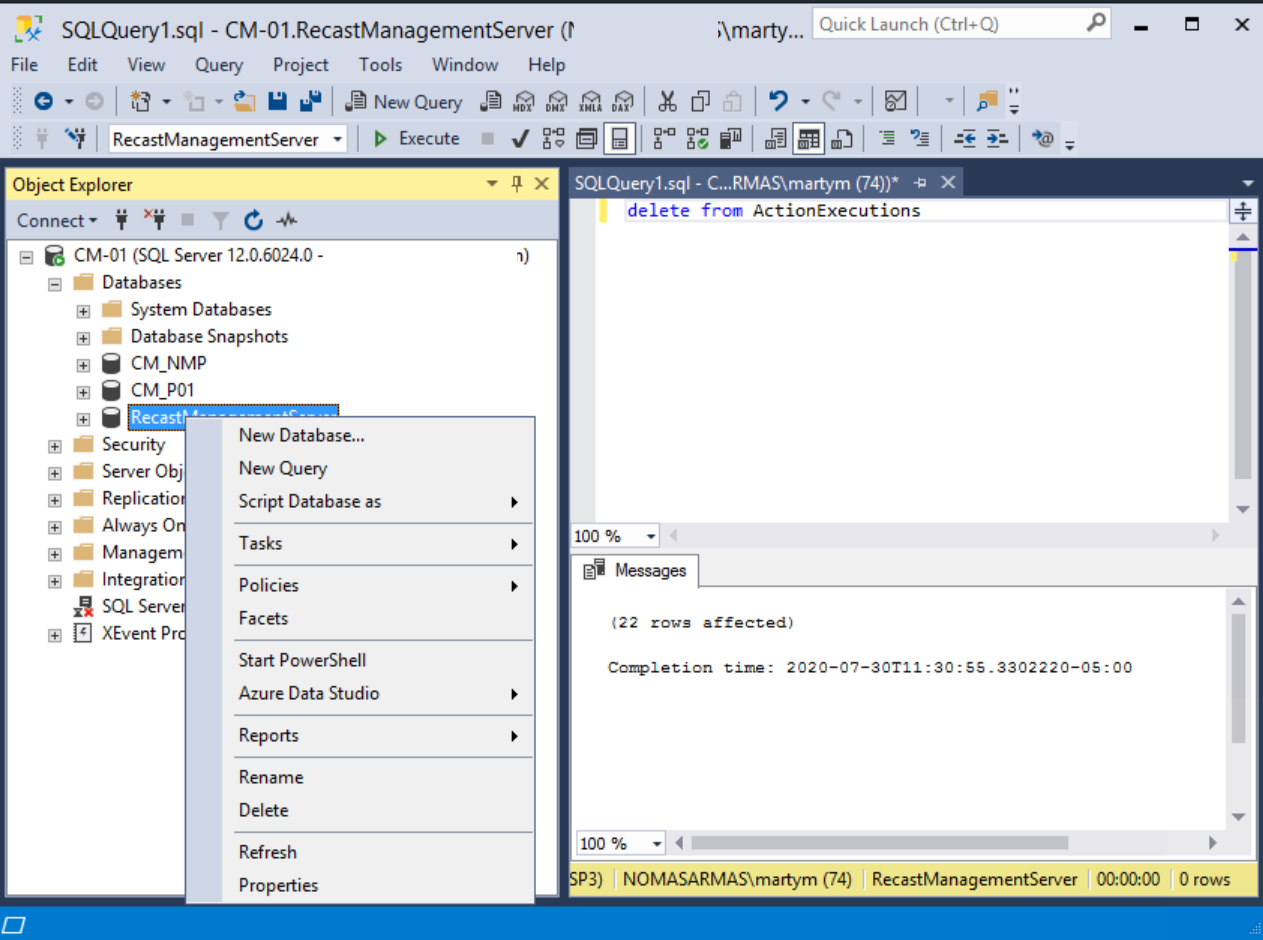
3. Right-click on the RecastManagementServer database and select New Query from the drop-down menu.
4. In the window that appears at right, enter delete from ActionExecutions. This will remove all previous action executions from the Audit Log.
Once the query is done, the number of affected rows will appear in the bottom window.
We recommend opening IIS and restarting the Recast Management Server and recycling the AppPool after running the query.
In Enterprise SQL
To remediate this error in Enterprise SQL, you can follow the same steps as above, or you can expand the database size.
To expand the database size:
1. Open SQL Server Management Studio.
2. Expand the Databases folder.
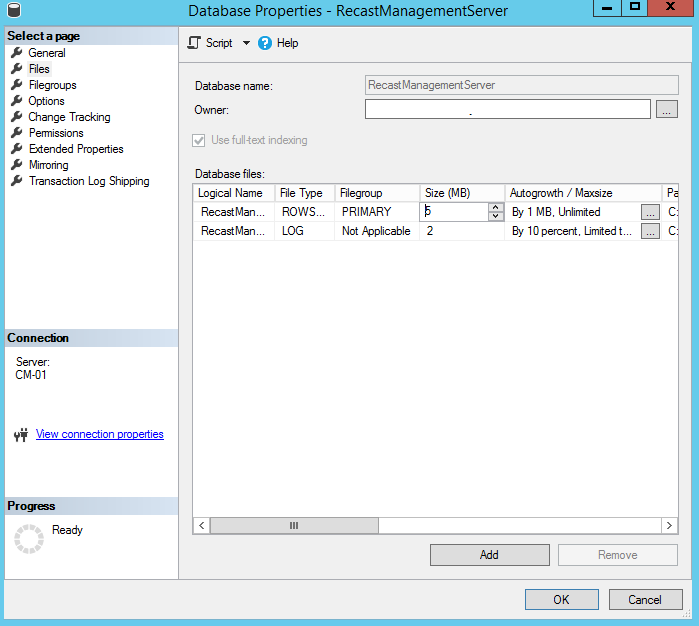
3. Right-click on the RecastManagementServer database and select Properties from the drop-down menu.
4. In Database Properties, click the Files page.
5. Increase the value in the initial Size (MB) column for the file.
6. Click OK to save your change.
We recommend opening IIS and restarting the Recast Management Server and recycling the AppPool after running the query.
Preventing the problem's return
Audit logs are the item that takes up the most space in the Recast Management Server Database. By default, those logs are stored indefinitely. You can change the number of days logs are stored by editing the MaxAuditLogAge in your Recast Management Server settings.
Indications
When attempting to add a user to the Recast Management Server, or when attempting to run an action in Right Click Tools, nothing appears to happen. Sometimes the SQL Could not allocate space because the file group is full error will appear in the Recast Management Server stdout logs.
Possible Causes
This error can occur when the SQL RecastManagementServer database is full and can no longer be expanded. This can happen when:
- The hard disk the RecastManagementServer database resides on is full
- SQL has an upper limit assigned for the amount of space that the RecastManagementServer database can grow
- You are using SQL Express which only allows a database to grow to a maximum of 10GB
Resolution
If you are using a full version of SQL:
You can either move the database to a new location, or add space to that drive (if it is virtual). If you move the database to a new location, you will need to change the location that the Recast Management Server looks for the database. That information is stored in the appsettings.production.json file which is located at
C:\Program Files (x86)\Recast Software\Recast Management Server\appsettings.production.json. You will need to change the Server setting to include the FQDN of the server as well as the port in the following format:Server=FQDN,1433.You can change the upper limit for the database. It is possible to allow the database to grow larger (if space is available) by changing the maximum size.
If you are using SQL Express:
If you have hit SQL Express' 10GB limit for a database, you will need to remove some data by running a query to delete items from SQL Server Management Studio (SSMS).
To run the query:
Log into SQL Server Management Studio.
Right Click on the RecastManagementServer database and select New Query.
Enter the following query into the window that opens: delete from ActionExecutions.
Click Execute in the ribbon above the Object Explorer.
The execution will take some time, but will list the number of rows deleted when it is complete.
If your RecastManagementServer database is nearing or is at capacity, you'll need to increase its size, if possible. An additional strategy for avoiding SQL errors is to switch your SQL Server recovery model from full recovery to simple recovery. A database can be switched to a different recovery model at any time, but we recommend consulting the SQL administrator for your organization before changing models.
For instructions on switching the database recovery model, see Set Database Recovery Model.
To learn more about the difference between simple, full, and bulk-logged recovery, see Recovery Models (SQL Server) | Microsoft Learn.
To check your SQL Server port:
1. Open the SQL Server Configuration Manager.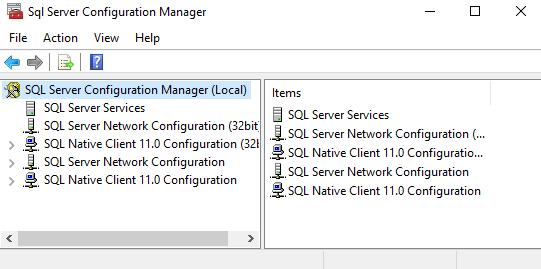
2. Click SQL Server Network Configuration and open Protocols for MSSQLSERVER.
3. Open TCP/IP.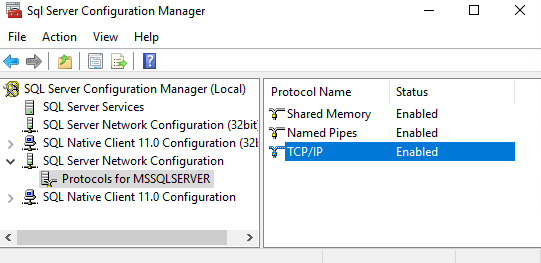
4. Select the IP Addresses tab.
5. In the IPAll section, you'll see the TCP port being used in your environment. For most people this will be 1433, but it can be changed.
If you experience SQL permission errors when attempting to load the Recast Management Server interface, use the following steps to recreate a deleted RMS database, remove the existing RecastManagementServer.MDF and RecastManagementServer_log.LDF files, and manually configure a new database user with the necessary permissions. These instructions are applicable when a Recast Management Server database has been deleted but the backing files have not been removed.
Resolution
NOTE: The folder and file names in these instructions may differ depending on the SQL configuration.
By default, they can be found at <SQL_Program_Files>\MSSQL14\MSSQL\MSSQL10_50\MSSQL\Data\
To fix SQL permission errors when loading Recast Management Server:
1. Manually create the Recast Management Server database. See Manually Configure SQL Server Permissions.
2. Delete the RecastManagementServer.MDF file from the MSSQLServerData folder. There may be more than one RecastManagementServer.MDF file if, for example, a database administrator has chosen to add multiple files for performance reasons.
3. Delete the RecastManagementServer_log.LDF file from the MSSQLServerLog folder.
4. Manually create a new Recast Management Server database user.
- For a local database, add the IIS AppPool\Recast Management Server account.
- For a remote database, add the computer account where the Recast Management Server is installed.
The format for the account is <domain_name>\<rms_server_name>$.
5. Change the membership of the newly created user to db_owner.
6. Recycle the Recast Management Server App Pool within IIS Manager.
7. Refresh the Recast Management Server website.
