A single Agent Gateway is automatically deployed and authorized when you install Recast Management Server. You can also install additional Agent Gateways, to accommodate all of your Recast Agents. Each Agent Gateway must be installed on a different server.
Run the Agent Gateway Installer
After downloading the Recast Agent Gateway software from the Recast Customer Portal, run the installer and follow its prompts.
IIS
To configure IIS:
1. On the IIS Configuration page, specify the Server Name in FQDN format (server.domain.local).
2. Set the IIS Port. The default IIS Port is TCP 444, to prevent conflicts when Recast Management Server is installed on Configuration Manager servers. The IIS Port can be changed to 443, or any open TCP port, to suit your environment.

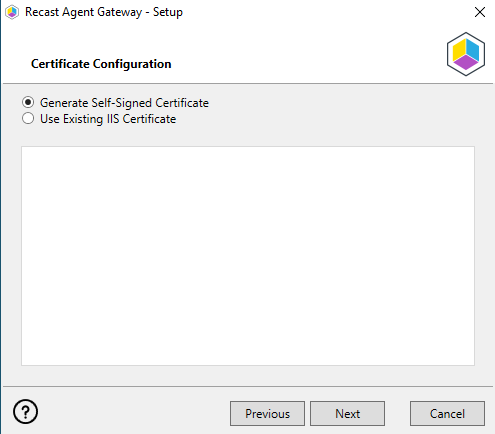
Certificates
To configure a certificate:
On the Certificate Configuration page, we recommend that you Use an Existing IIS Certificate issued by a trusted Certificate Authority (CA). If you choose to Generate a Self-Signed Certificate, you must import the Recast Management Server self-signed certificate to the Trusted Root Certificate Authorities store on devices running Right Click Tools, Recast Agent, or Recast Proxy.
CERTIFICATE NOTES:
- The certificate subject name (or a subject alternative name) should match the server name in the URL that Right Click Tools and Recast Proxies are pointed toward.
- Right Click Tools will prompt for any untrusted certificates and add them to an allowed list.
- The certificate can be changed later by editing the Binding in IIS Manager.
Recast Management Server Connection
To test the Agent Gateway's connection to your Recast Management Server:
1. On the Recast Management Server Configuration page, click Test Connection.

2. After a successful connection test, click Install.
3. When the installation completes, click Finish to close the installer.
Verify Agent Gateway Installation
In the Recast Management Server interface, navigate to Administration > Agent Gateways and check that the new Agent Gateway is connected and authorized. If you've installed an Agent Gateway on a separate server, you may need to manually authorize it in RMS.
For information on the hardware needed for Agent Gateway servers, see Recast Management Server System Requirements.
To learn more about installing your Recast Management Server with an additional Gateway, see Network Architecture: RMS with Standalone Agent Gateway.
The Agent Gateway SQLite file is located at C:\Users\Recast Agent Gateway\AppData\Roaming\Recast Software\Recast Agent Gateway
