Before you can collect warranty information with Right Click Tools Insights, you'll need to configure some settings in the Recast Management Server interface. You'll assign roles to users and configure a Recast Proxy to collect warranty information.
Once RMS configuration and Agent installation are complete, you can manually kick off a warranty scan on your Recast Management Server's Warranty page by clicking Start Warranty Scan. You can also wait for the scan to run automatically overnight.
NOTE: Recast Agents will take time to deploy and report their data back to the ConfigMgr database. By default, the hardware inventory cycle can take up to 7 days. Adjusting the time to install and increasing the frequency of reporting back to ConfigMgr can shorten this delay significantly.
You can grant a user or user group Recast permissions by assigning a specific role, such as an Administrator role. Your Recast software must be connected to Recast Management Server to set up role-based permissions.
ROLE NOTES:
- When a user is assigned multiple roles, their permissions for each role are aggregated
- A user's role is also constrained by any user or group limiting rules that are applied
Add an Active Directory User or User Group
To add an AD user or user group:
1. In your Recast Management Server, navigate to Administration > Permissions.
2. In the Recast Users section, click Add User or Add Group.
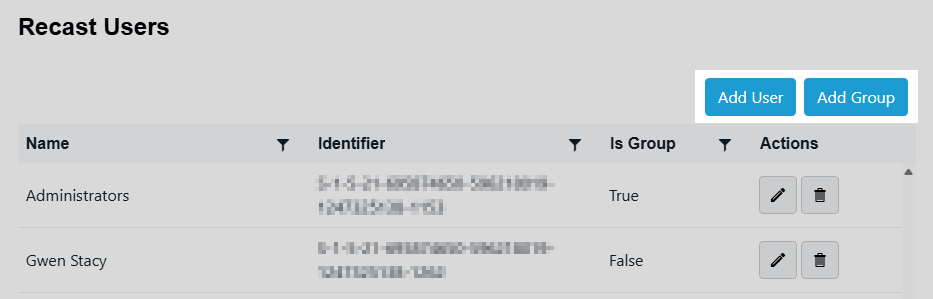
3. In the window that opens, search for your AD name or AD user group and click the Add button.
Use a wildcard (*) to facilitate your search
Wildcard examples:John Connor returns strings that match exactly
John C* returns strings beginning with 'John C', such as 'John Connor', 'John Connors', and 'John Cranston'
*Connor returns strings ending with 'Connor', such as 'John Connor' and 'Carol O'Connor'
*Support* returns strings that include 'Support' plus whatever is on the left and right, such as 'Customer Support Team' and 'Enterprise Support Group'
Assign a User a Role
Each user must be assigned at least one role.
To assign a user a role:
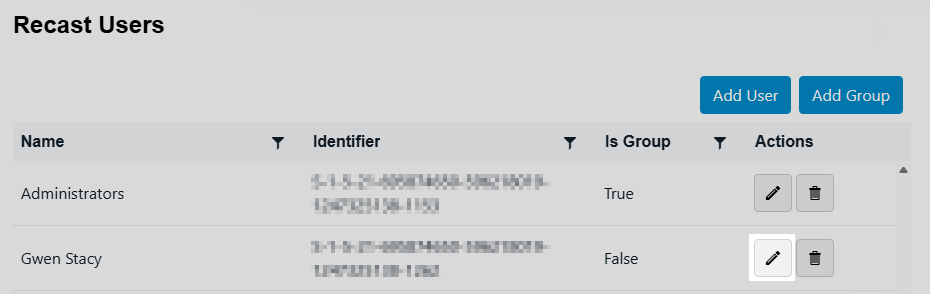
1. On the Permissions page, click the Edit icon to the right of the user or group.
2. In the Role Assignments window that opens, under Roles, select a role to assign to the user/group.
To learn about the individual permissions granted by a role, see View or Edit User Role Permissions.
3. Under Assigned Roles, enable Limit this user to specific objects and select a Service Connection to add a limiting rule that restricts user permissions to a set of devices (optional). To learn more, see Limiting Rules.

4. Click Save.
NOTE: Beginning with Recast Software Version 5.9.2502.2105, you no longer have to set a Refresh Interval to repopulate your limiting rules (formerly known as scopes). The scheduled Discovery Sync will keep your service connection data up to date.
Setting up a Recast Proxy for warranty information collection in Right Click Tools Insights involves authorizing the proxy in the Recast Management Server (if necessary) and creating a Recast Proxy route. Routes determine which Recast Proxy runs a Recast action.
A Recast Proxy route sends an action to a service account if:
- The route is assigned a role that has permissions to run the action
- The targets of that action fall within the route’s assigned scope
For more information, see Route Types.
Proxy Route Prerequisites:
- Recast Management Server installed with Recast Proxy
- Recast Proxy service account has the required permissions to collect warranty information
To create a Recast Proxy route:
1. In your Recast Management Server, navigate to Administration > Routes.
2. In the main window, click Create.
3. Set the route Type to Recast Proxy.
4. As Recast Proxy, select your service account.
5. Set Role to Administrators.
6. Click Create.
